Home Photo Wall: How To Turn A Blank Wall Into A Personal Story
A strong home photo wall usually starts with one central wall, a clear concept, and a balanced set of 4-12 coordinated photos.
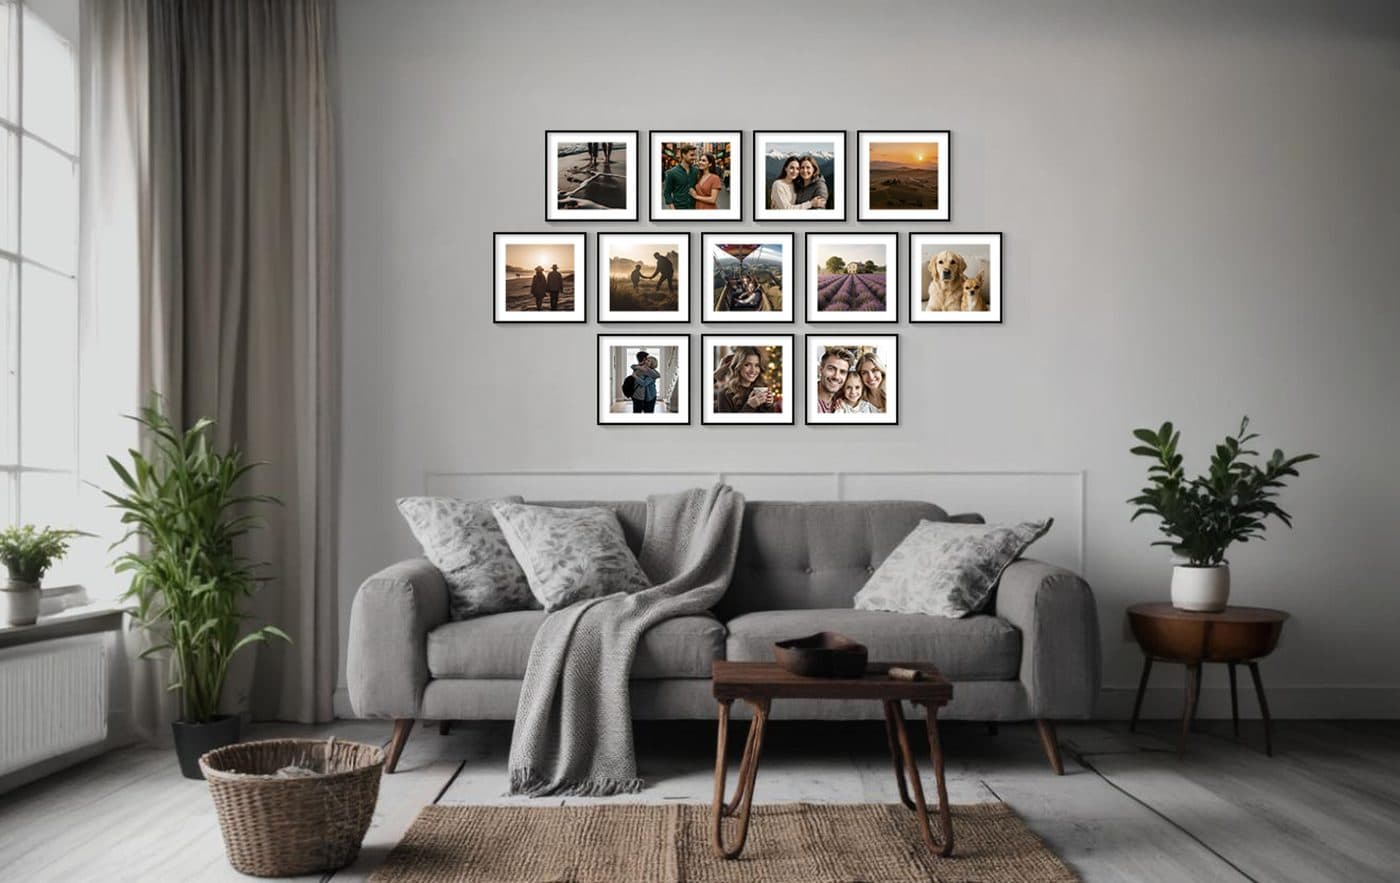
Best for / not best for
Best for
- Smooth, clean, dry walls with stable paint
- Renters and flexible photo-wall layouts
- People ordering custom wall photos from their phone
Not best for
- Rough, damp, dusty, or peeling walls
- Placement above beds, cots, or other safety-sensitive areas
- Anyone who has not tested an uncertain painted surface first
Which wall is best at home
The strongest photo walls are placed where you see them often: living rooms, hallways, dining areas, family rooms, or entry spaces.
A narrow wall suits a short row or vertical composition, while a wide wall can take a grid or larger gallery arrangement.
How to choose photos for the whole house
Do not try to put the whole photo library on one wall. Choose a few representative moments: family, travel, children, relationships, and home life.
If quality varies, place the strongest photos near the center and the weaker ones around them.
A wall that can evolve
One advantage of stick-on wall photos is flexibility. You can start with a small set and expand it later after a trip, birth, or family event.
That keeps the wall alive rather than turning it into a one-time styling task.
FAQ
Does a photo wall work in a rental?
Yes. That is one of the most practical use cases for a no-drill photo system.
Which room is best for a photo wall?
Living rooms and hallways are the most common choices, but bedrooms, home offices, and kids rooms can work well too.
Ready for your own wall?
Upload photos, choose size and frame, and receive stick-on photos with no drilling.